Multiple exposure photography - in camera or in photoshop?
Posted on 3rd September, 2016
Multiple exposure photography has been around for many years, in one guise or another, but in more recent times, it has become increasingly popular. It’s something a fair percentage of my workshop customers are keen to explore, although by no means all of them have a camera capable of creating multiple exposures without resorting to software to merge and blend images. I always demonstrate the power of smartphone apps such as Photosplit to allow you to experiment with multiple exposures, although not everyone has a smart phone.
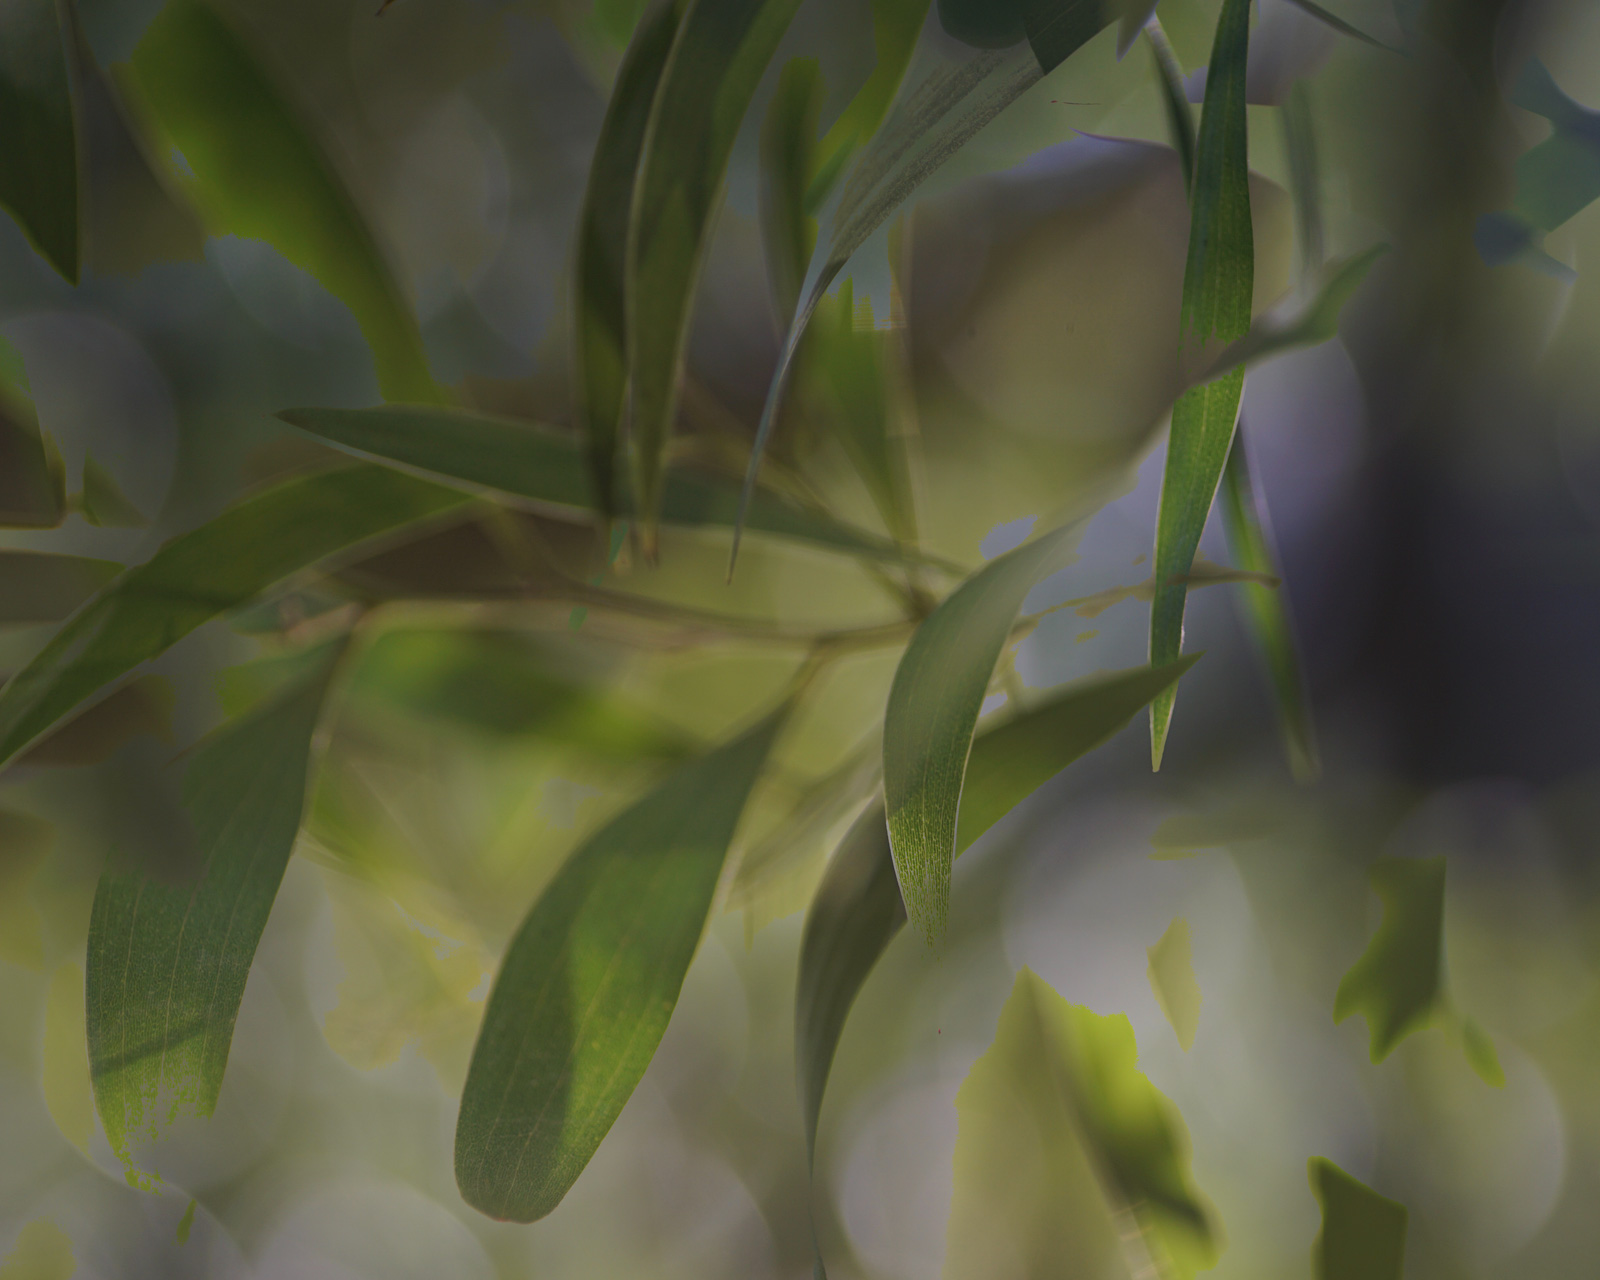
With this in mind, I thought it would be useful to compare and contrast what might be achieved in camera versus photoshop. The above image was created using Sony’s multiple exposure app on my A6000. I’ve cropped to 5x4 (I do wish you could do this in camera too) but otherwise it is exactly as created. The Sony app now lets you capture raw + jpeg files simultaneously, however only the original two frames that make up the multiple exposure are captured as raw files, the blended file is jpeg only. So, the image you see here, is an in camera blend of the two images below.
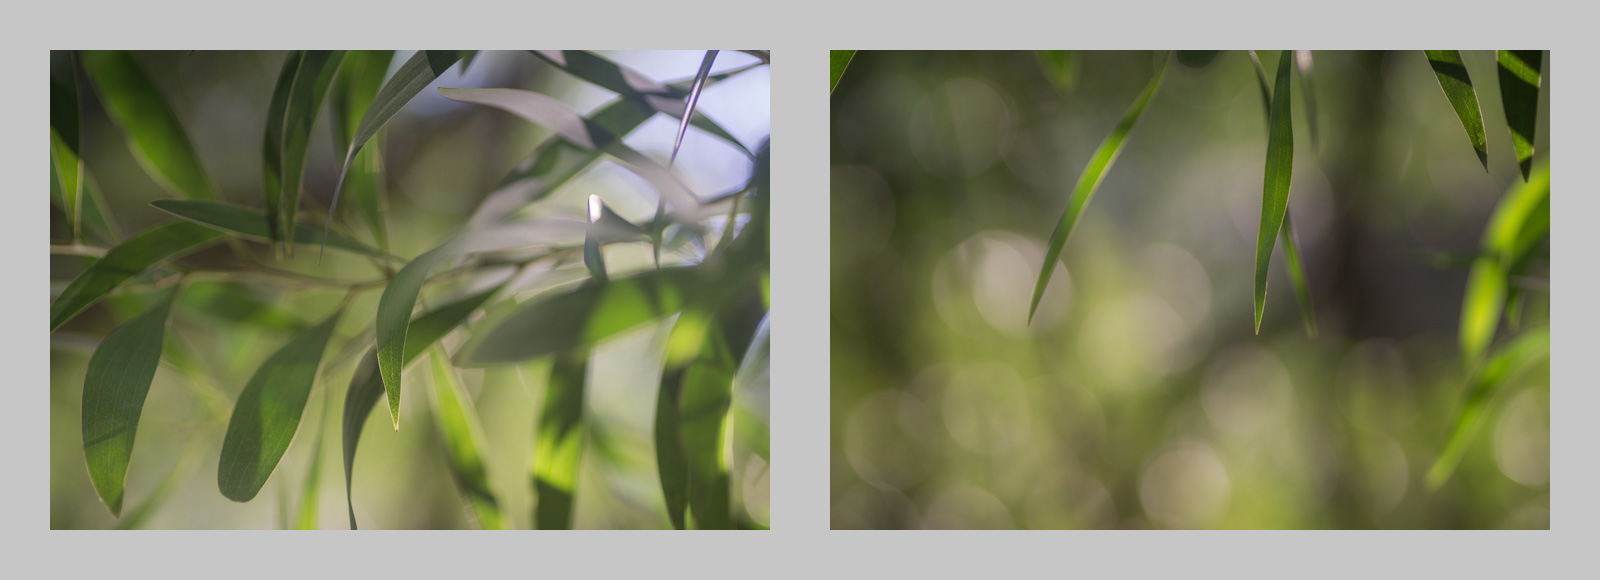
The Sony app is a little restrictive in that it only allows you to capture two frames for each multiple exposure. However, it does give you a pretty good range of six blend modes to choose from, including ‘darken’, as used above. The other thing it allows you to do is to see exactly where you are overlaying the second frame on top of the first - something I find hugely beneficial, as it allows me more control over the composition. If you have a camera that does not allow use of live view with multiple exposure, of if your camera just does not allow this technique full stop, then you have to work ‘blind’ - a bit more trial and error required, but it certainly can be done! Although I was pleased with the in camera multiple exposure image, I thought it would be interesting to see how a version blended in Photoshop would compare. I developed the two RAW files to taste in Lightroom, selected them both and then opened them as layers in Photoshop. I then selected the two layers and changed the blend mode to darken. You can see the resulting image below:
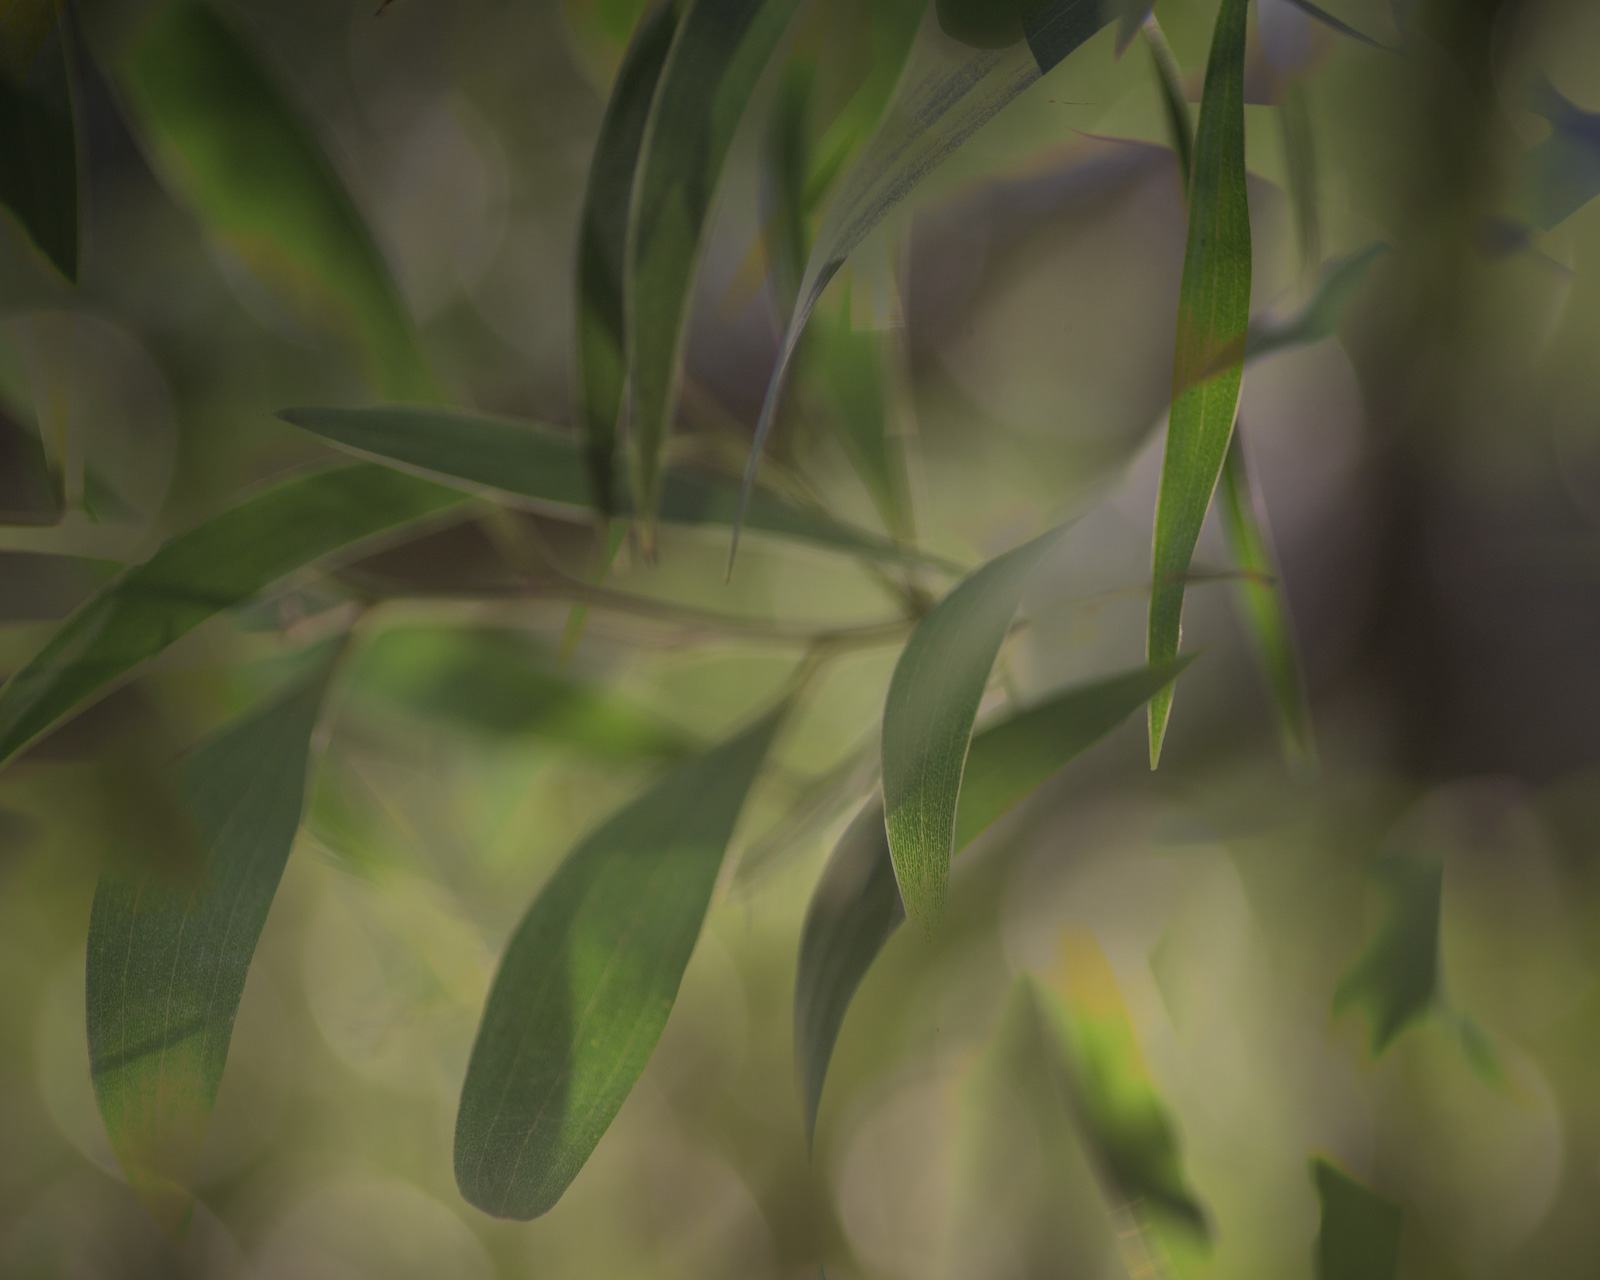
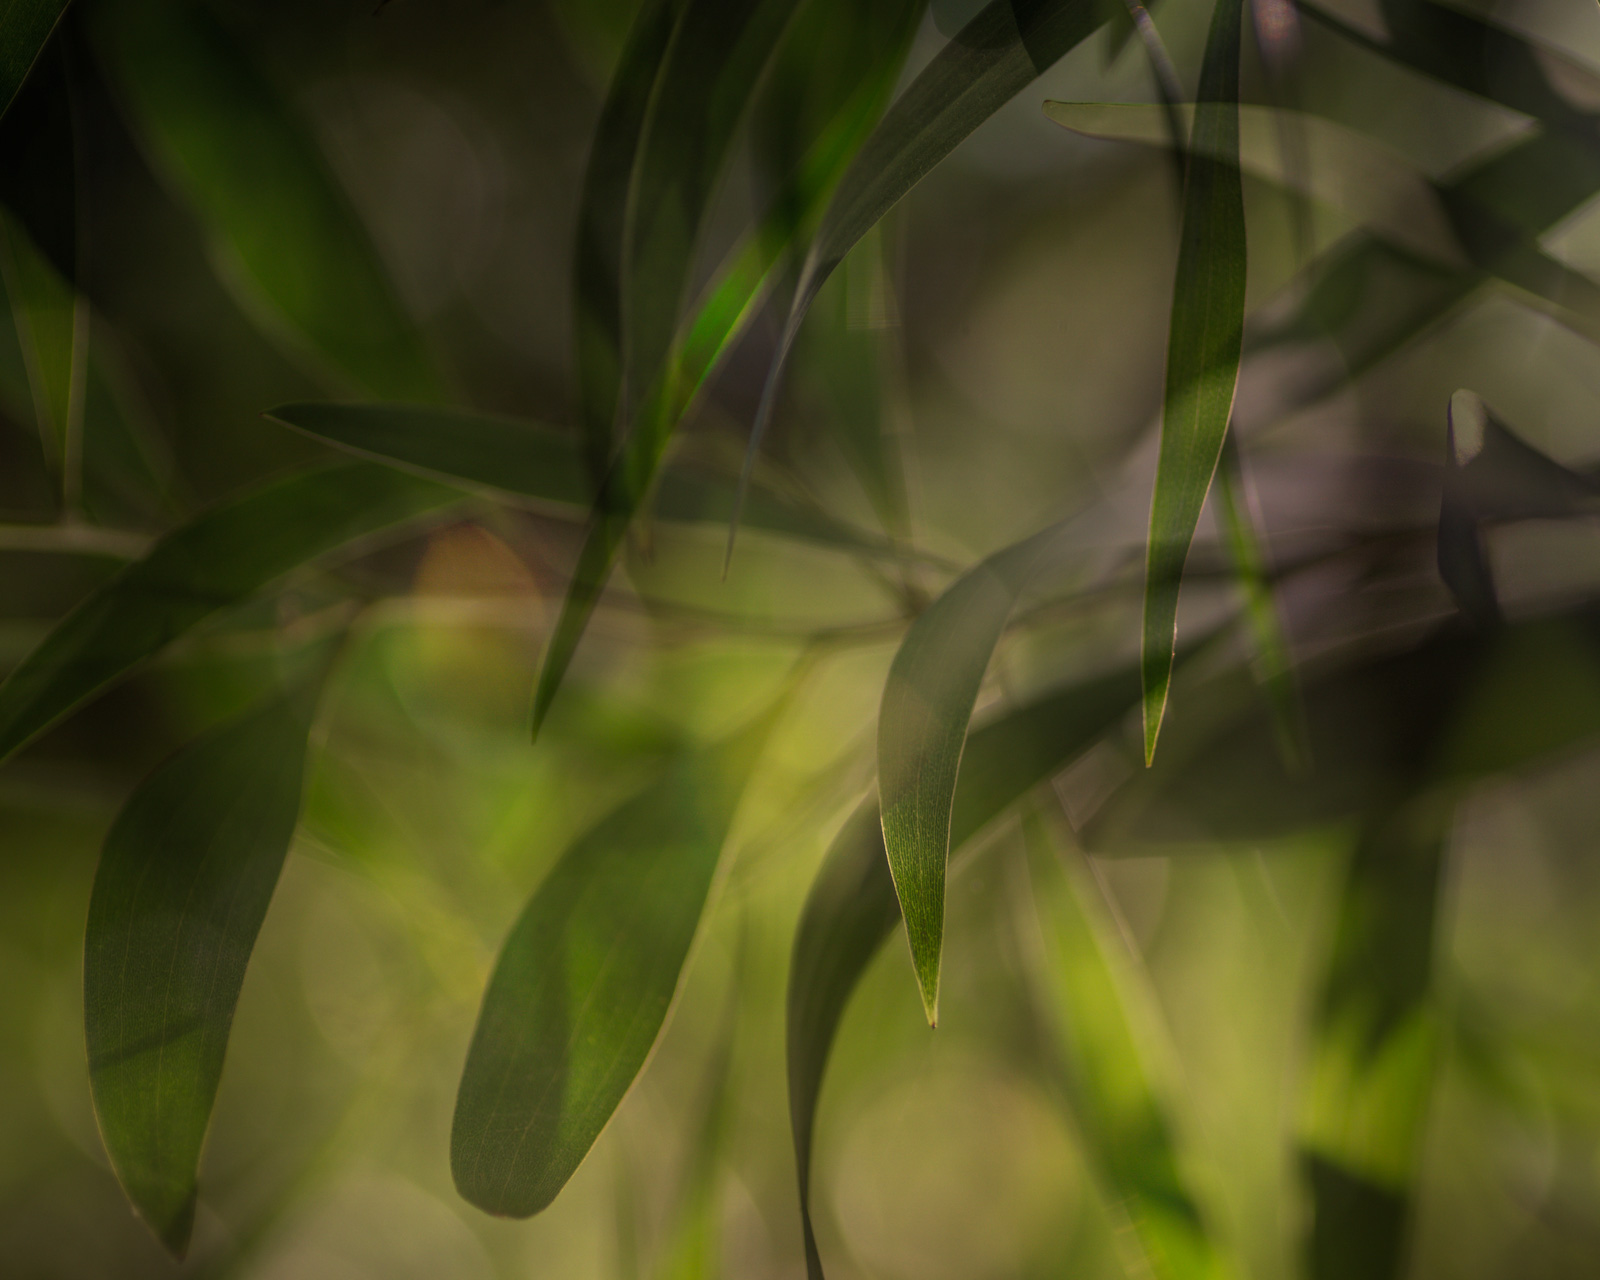
The most striking difference is the far greater level of detail, colour and smoothness of transitions in the highlights. Whilst I was happy with the original jpeg, I do prefer the Photoshop blended variety. Of course, the other advantage of doing it in this way, is you get far more choice of blend modes. Out of interest, I tried a few more and found that using the ‘overlay’ blend mode gave me my favourite version of all - one that feels most true to the light and conditions of the time.
The same process can easily be applied to multiple single images taken on any camera and it’s very quick and easy to do, so long as you are reasonably familiar with Photoshop. Does it matter that it wasn’t entirely created in camera? Not to me… ;)