Creating a drop shadow frame in photoshop
Posted on 5th December, 2016
Several people have asked how I create the drop shadow frames for the photos I show on Facebook, Twitter and Instagram. There are many ways of doing this but I thought it would be helpful to illustrate the steps I go through to create these. I use Photoshop CC for this.
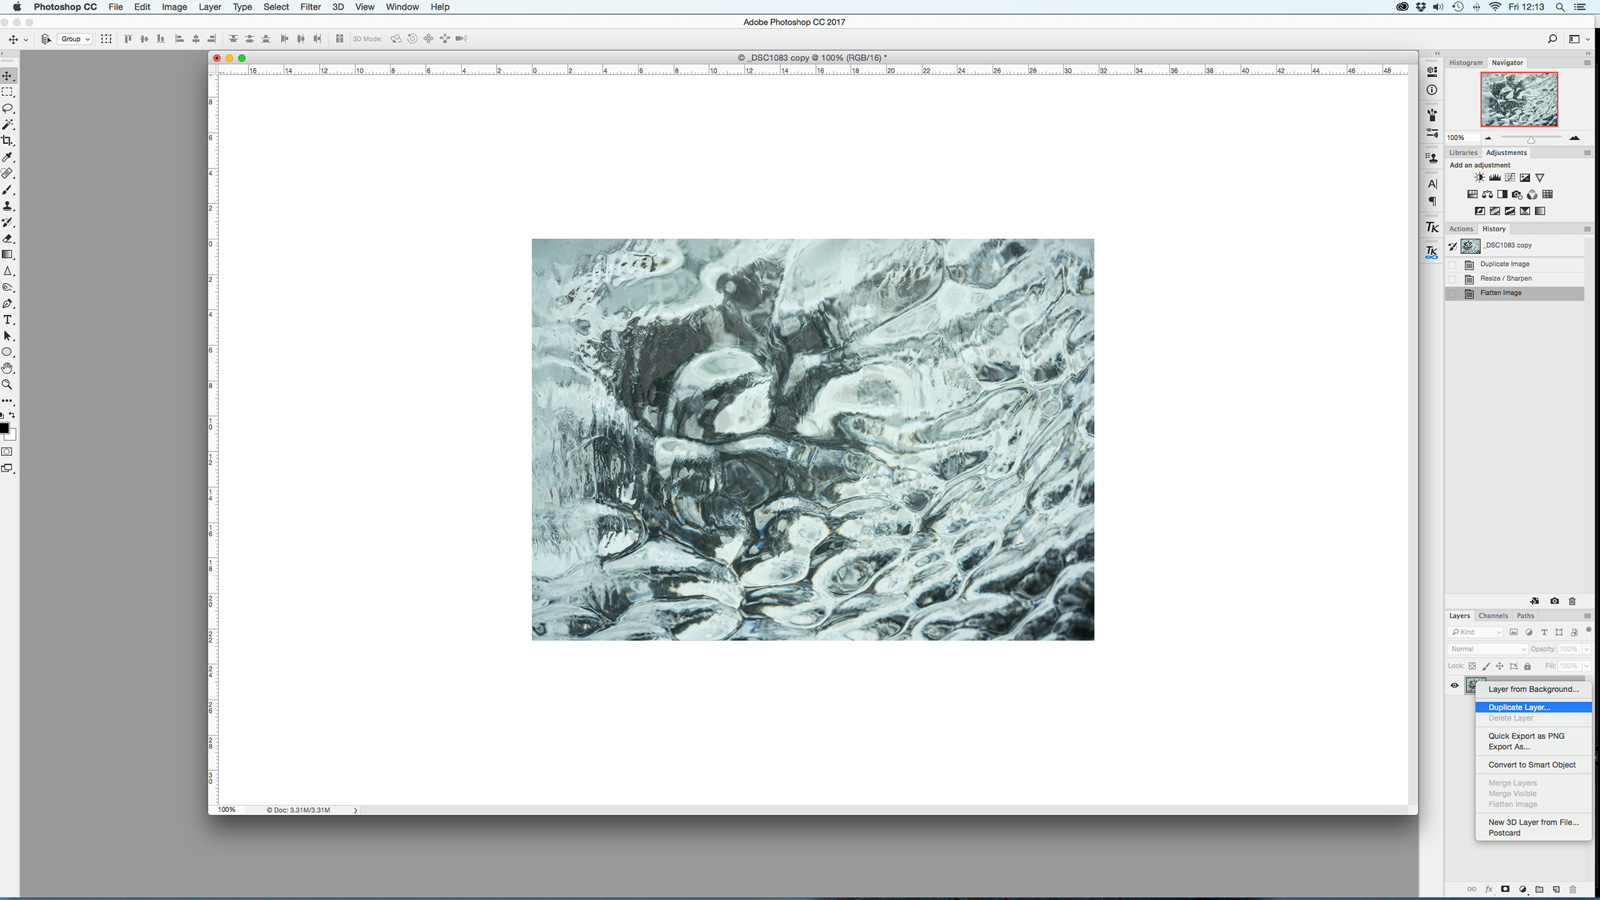
First of all I resize the image to the desired size - in my case usually about 900 pixels wide or 800 pixels tall. Then I right click on the layer and click duplicate layer.
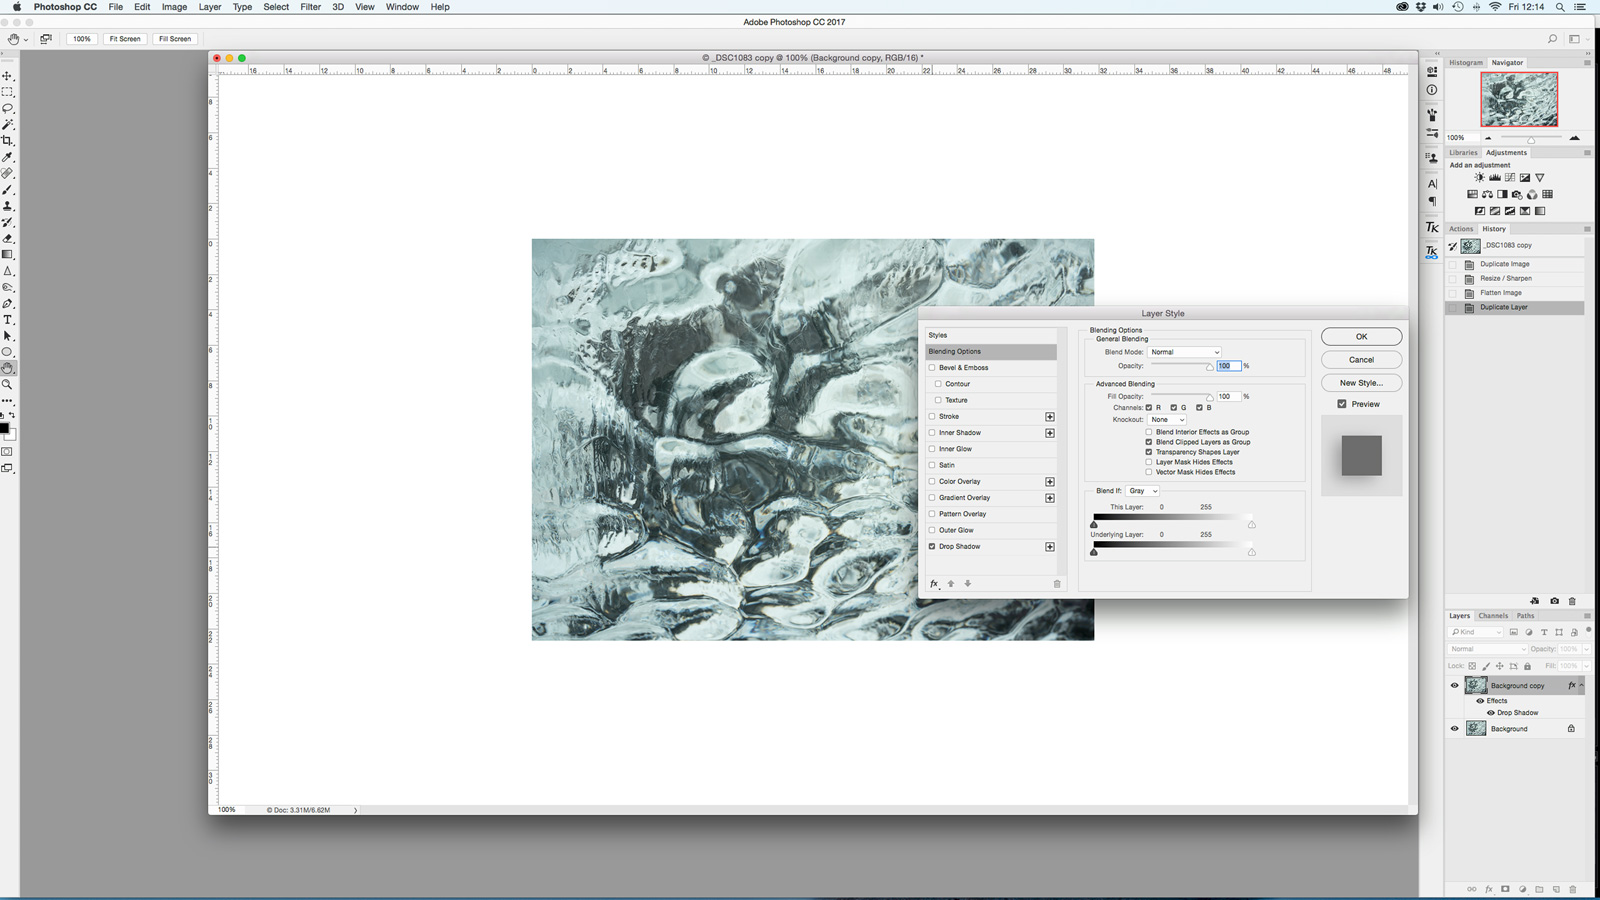
I then double click on the new layer to bring up the Layers Style options and tick the Drop Shadow box bottom left. The click OK.
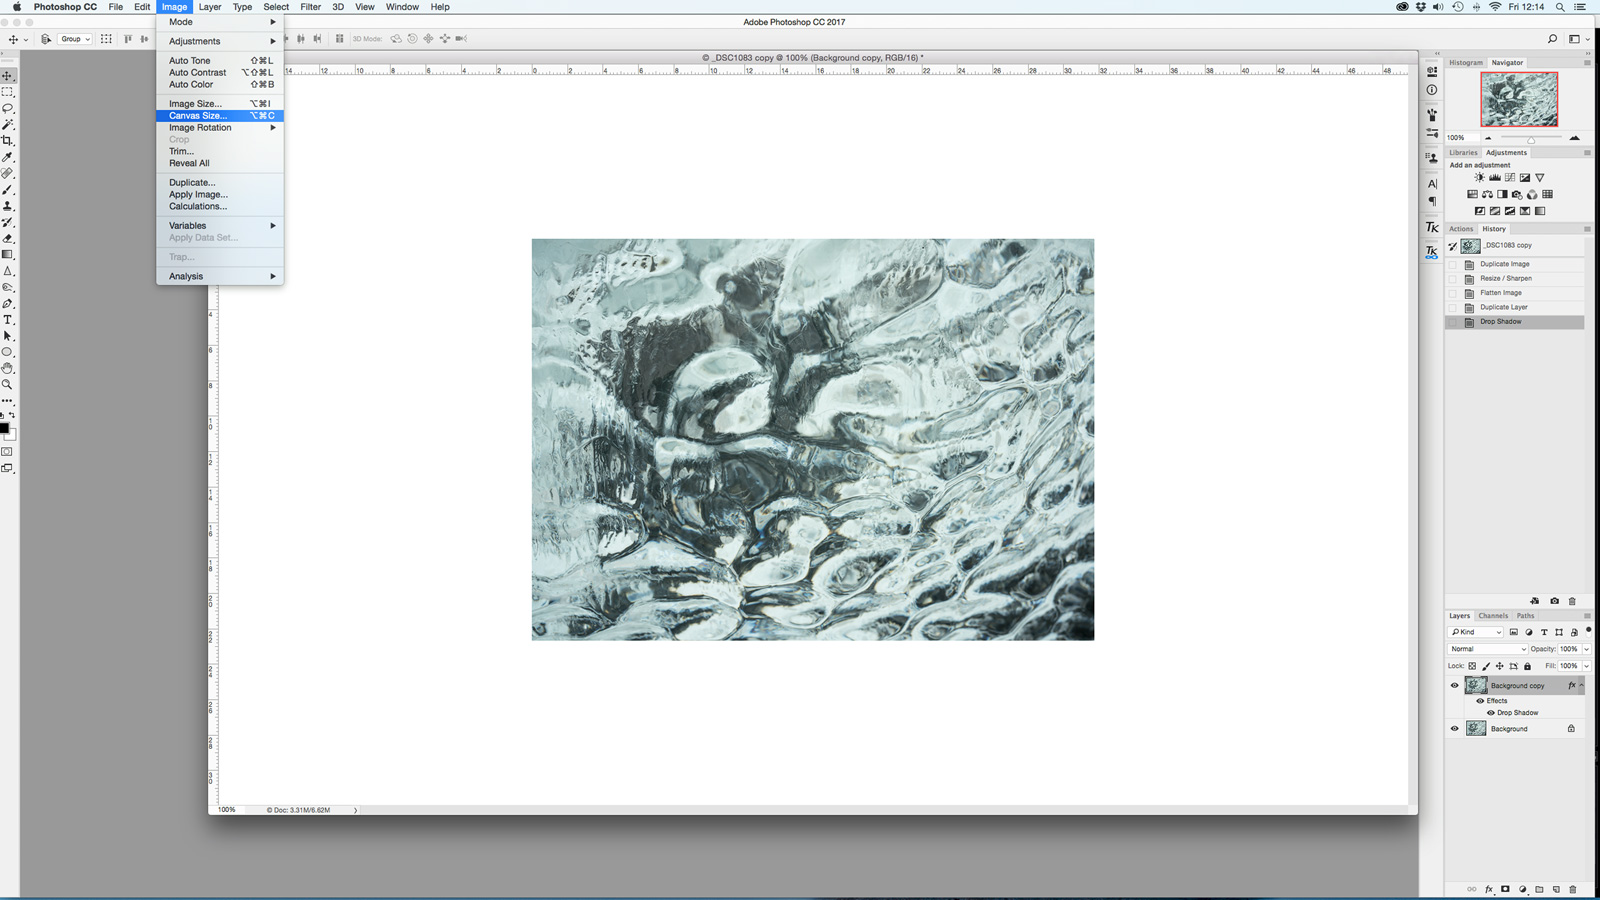
I then create a larger canvas - this is where you will see the drop shadow that you have created around the image. Click Image on the top menu and then choose Canvas Size.
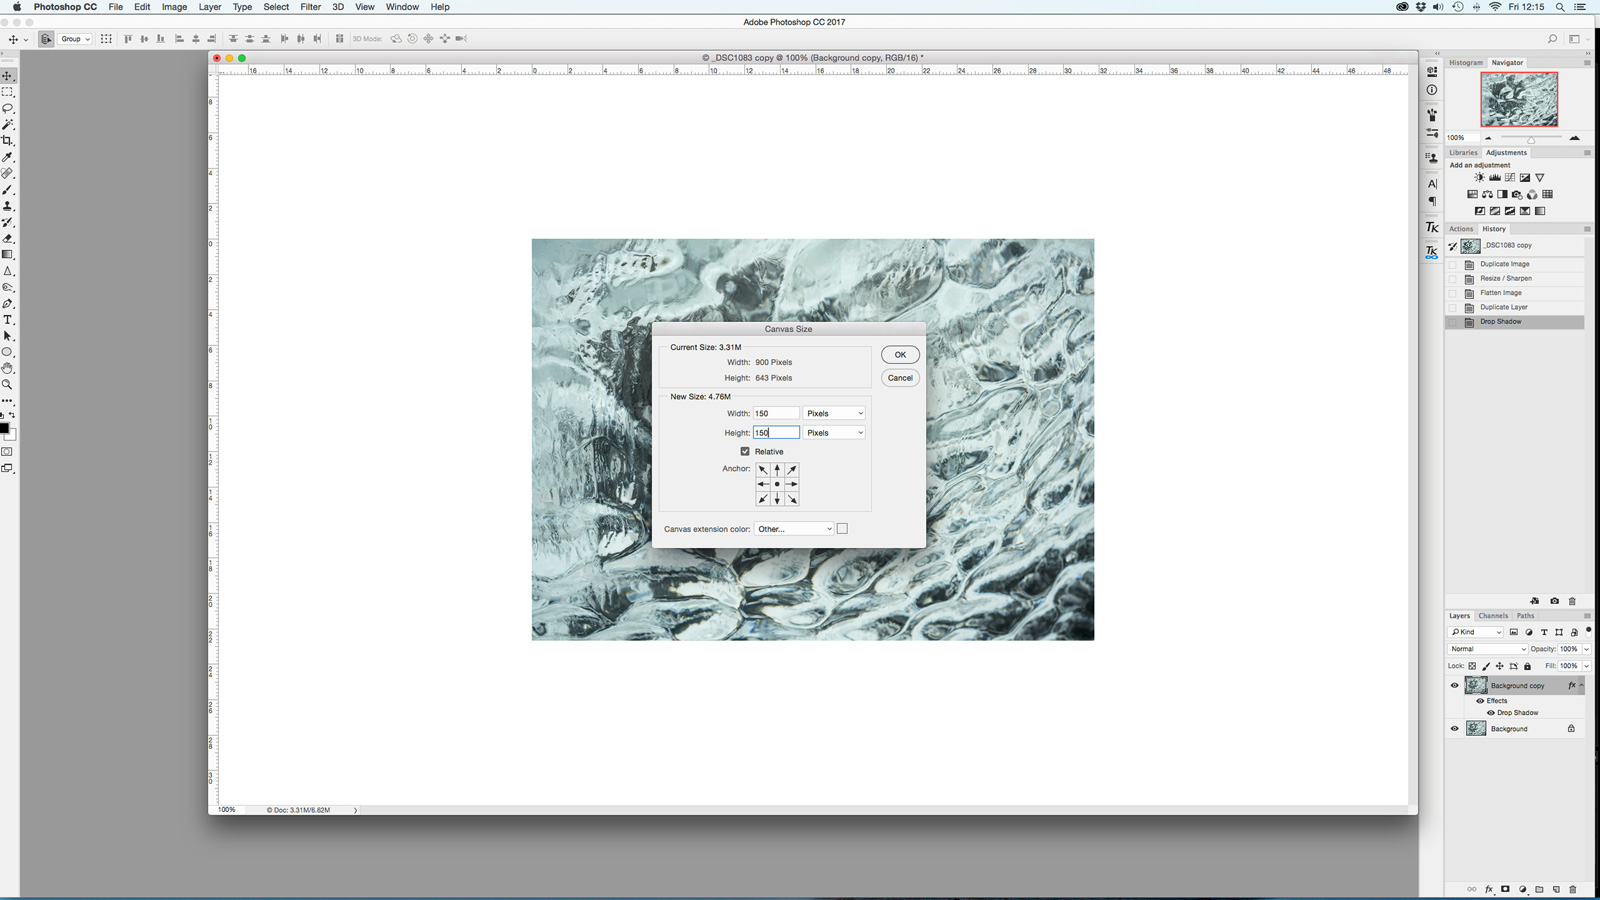
There are a number of options in terms of choosing the canvas size. My preferred way is to tick the Relative box option and I then choose Pixels in the two dropdown boxes. I find 150 pixels to be a good size but you may want to experiment. The other thing you need to decide upon is the Canvas extension colour - very much a personal choice and I know not everyone is a fan of my preferred grey!
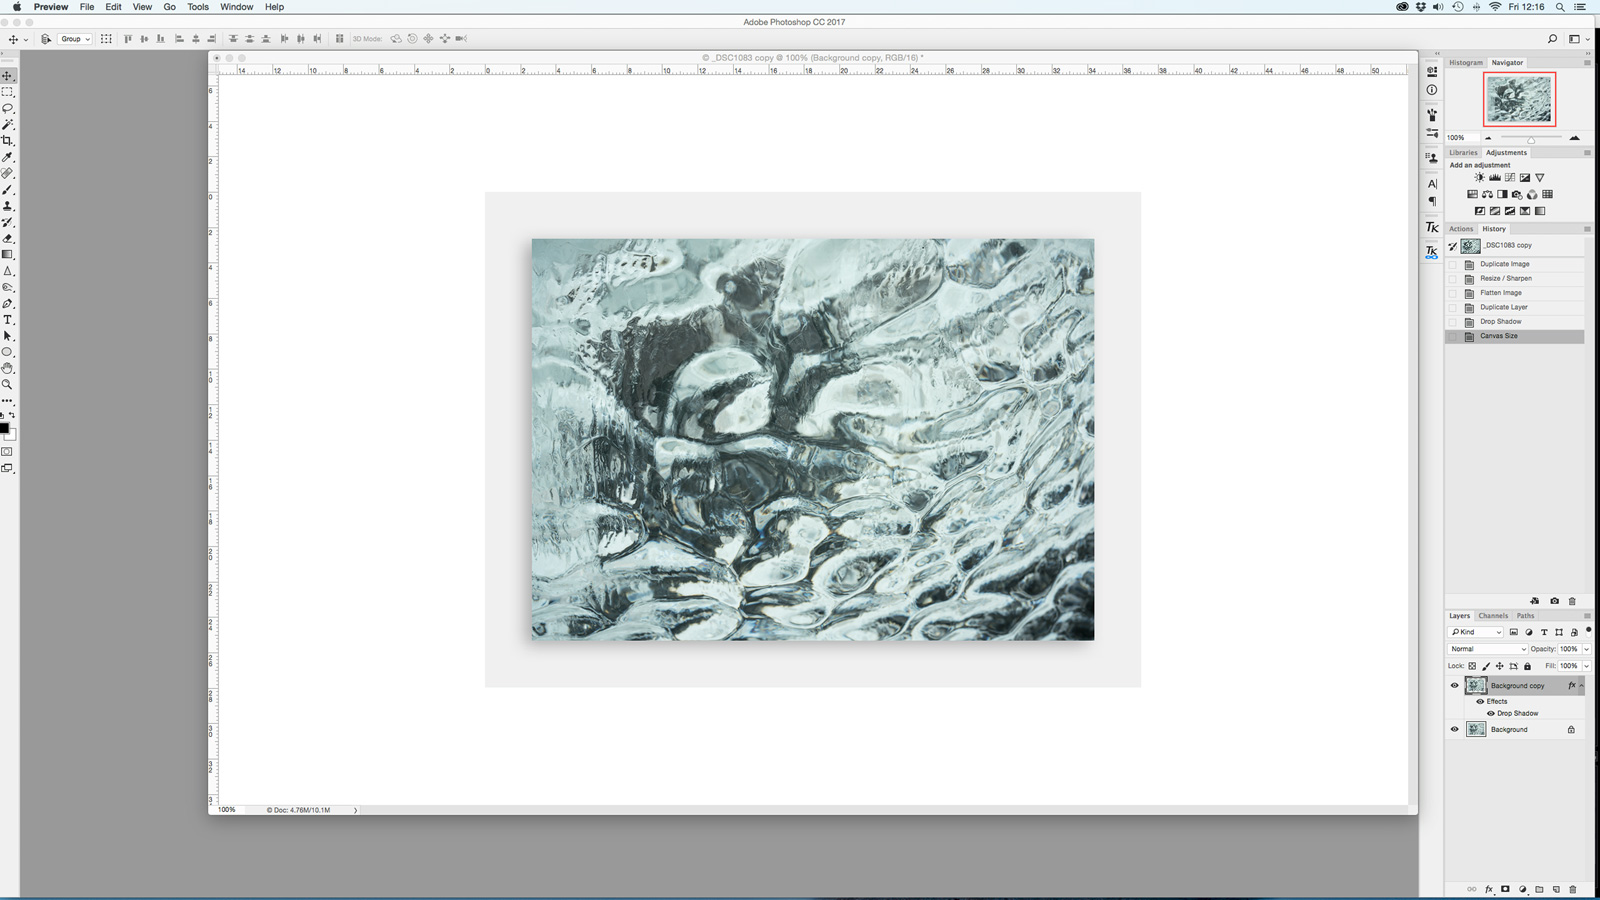
Once you’ve clicked OK, you should see your image complete with pretty canvas and drop shadow! You may also want to add your logo, copyright or a title underneath. I record and save the whole process as an action so that I can quickly recreate as and when suits.